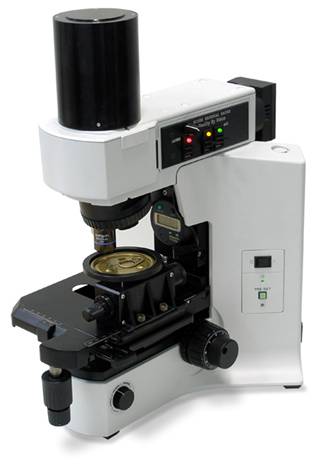
An affordable, accurate solution for easy open endsThe score is an essential part of the easy open system. A badly made score groove will require significantly more pressure to open than a properly made one. The key measurement for this purpose is the score residual measurement. This is the distance between the bottom of the end and the bottom of the score residual groove. This value is typically around 30% of the total end thickness.
There are several techniques in measuring this value (e.g., pop & tear). However, these will indicate that there might be a problem, while not specifying where that problem might be located. In addition, pop & tear methods are crude and destructive for the measured ends.
The problem could occur due to problems in the rivet, the pull-tab, or in a specific area of the score groove. As the score depth varies across the diameter of the can (with the deepest point being that next to the pull tab) a problematic depth at one more points could introduce a problem into the system.
The score residual gauge utilizes a "depth of field" optical system. This means that the optics must be in an exact position in order for the image to be properly focused. Unlike other score residual gauges, however, our gauge utilizes our expertise in software, optics and laser technologies to dramatically improve repeatability, regardless of who is operating the system. By monitoring the camera position accurately and adjusting the image until it is focused, an operator can measure the score depth to within +/- 2 microns.
The new feature of focus determination by the software improve the repeatability of the gauge and make it incomparable to the competition.

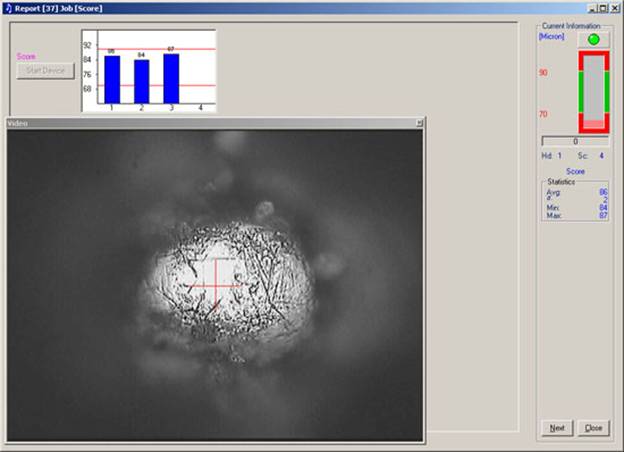
Measuring the score reference pin (0 microns)

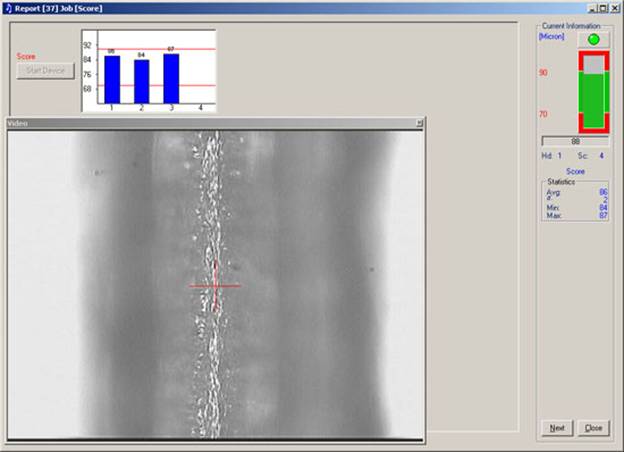
A thin narrow score as viewed through the score residual system.
|
Specifications
1 each Score Residual Gauge consists of:- Microscope with +/-2 micron depth of field
- X- Y table
- High Resolution Camera.
- 900x magnification with 17 monitor
- Focus determination by software
- Resolution 0.001mm
- Range 0 - .120
- For end diameters 2 4
- Software package including database for reports and SPC
- 2.6GHz PC with 256MB RAM, 80GB Hard Drive, DVD_ROM, Windows XP-Pro, keyboard, mouse, flat panel monitor
|
